Quick Start
From install → First Volumetric Scene in Less Than Five Minutes
If you're installing into a project that has already been in development, it would be best practice to copy your project to make sure there aren't issues with visuals, performance, or compatibility. When using it out of the box, it's setup to automatically create folders and add a foldering structure in the Outliner and in the Content Browser. It's been tested in established projects with no issues, but err on the side of caution with any new plugin.
1. Install and enable
Install PVLK from the Epic Games Launcher and enable it in your project (Edit → Plugins, search "PVLK", check Enabled, restart). Full options - including the per-project install for teams - are on the Installation page.
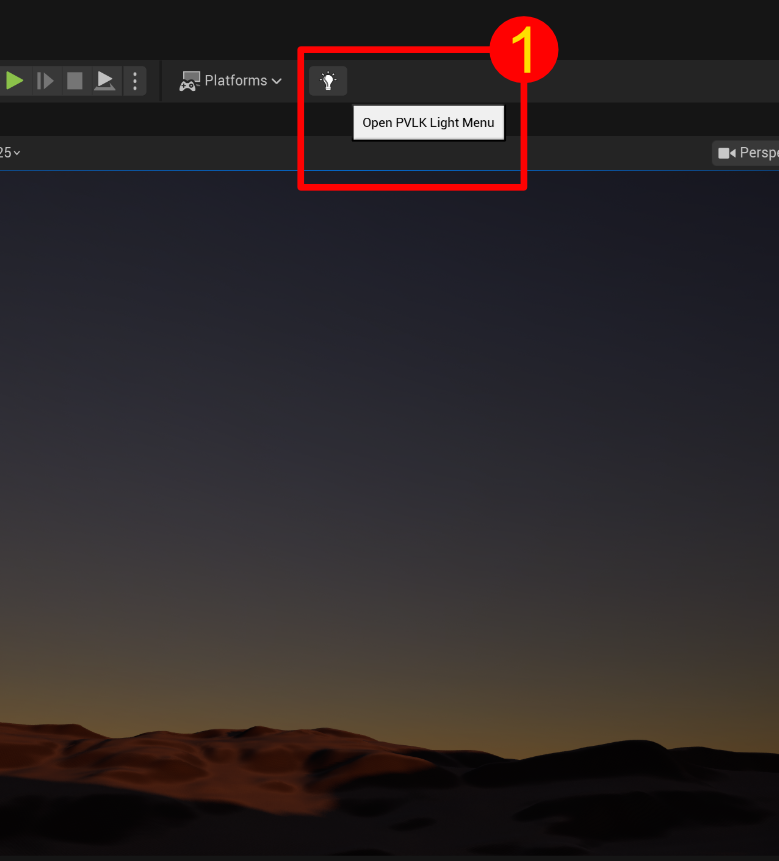
 should show on the level editor's toolbar.
Optional: You can also find the plugin under Window → PVLK Light Menu at the bottom of the menu.
2. Opening and using the PVLK Light Menu for the first time
1. Click the PVLK button on the level editor toolbar.
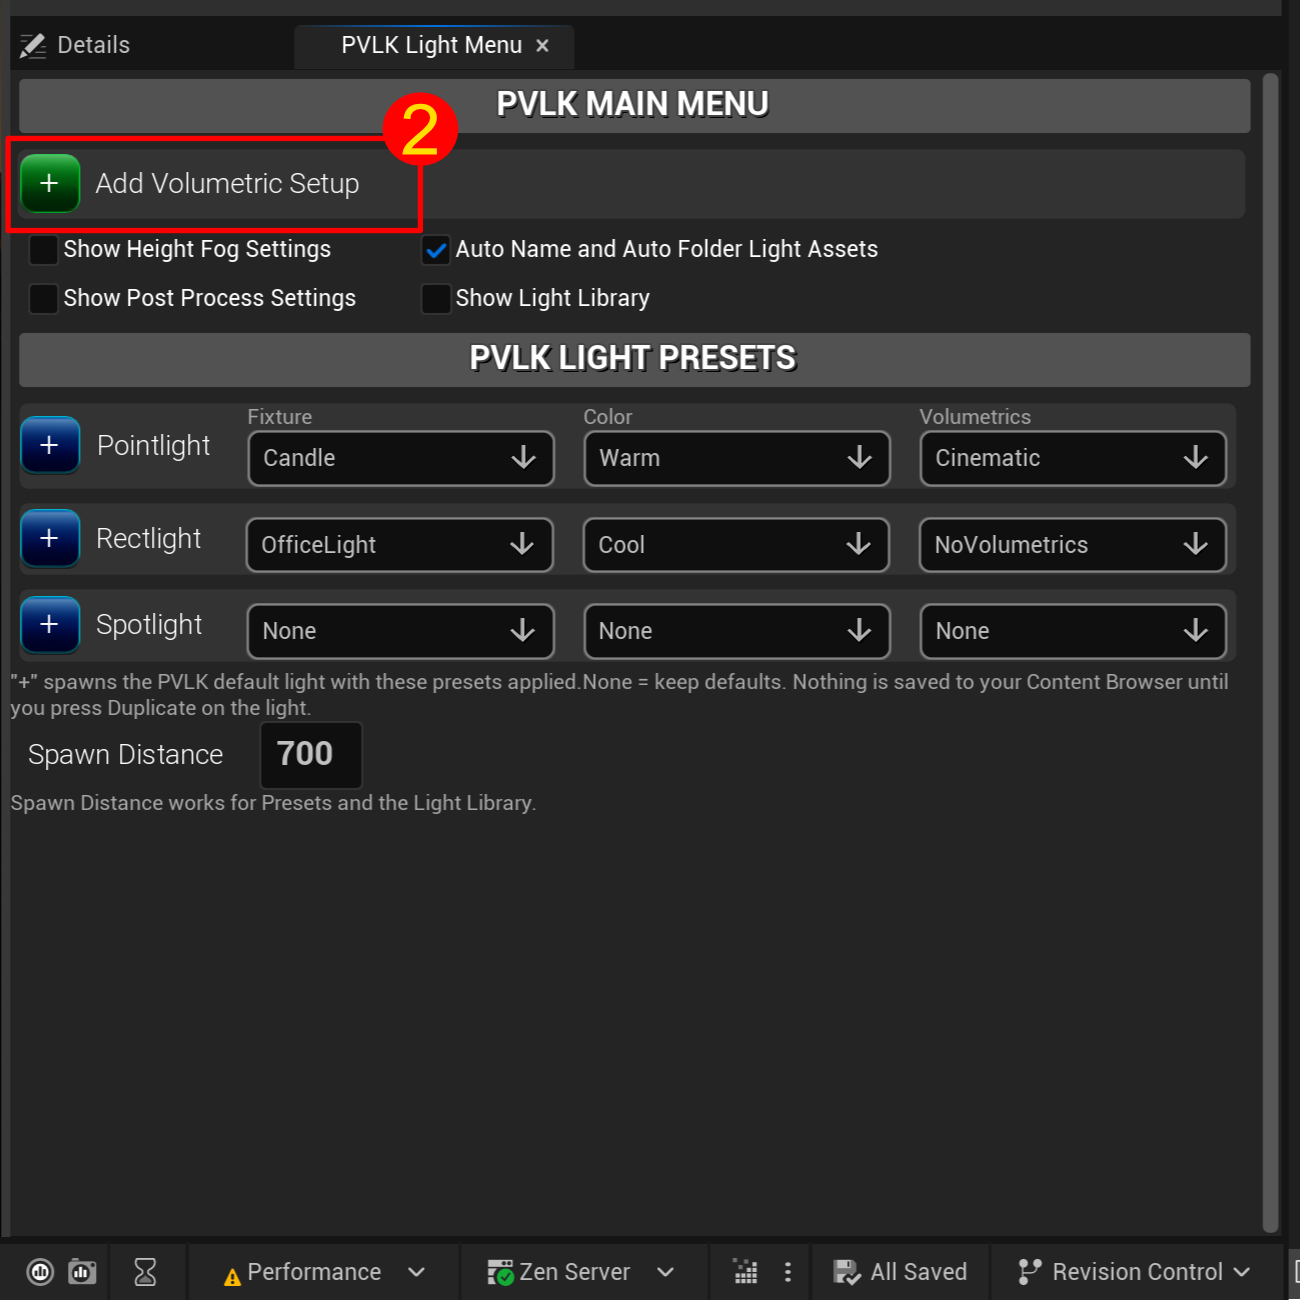
2. Click the Add Volumetric Setup button. (If another Post Process Volume or Exponential Height Fog already exists, you will be prompted to overwrite)
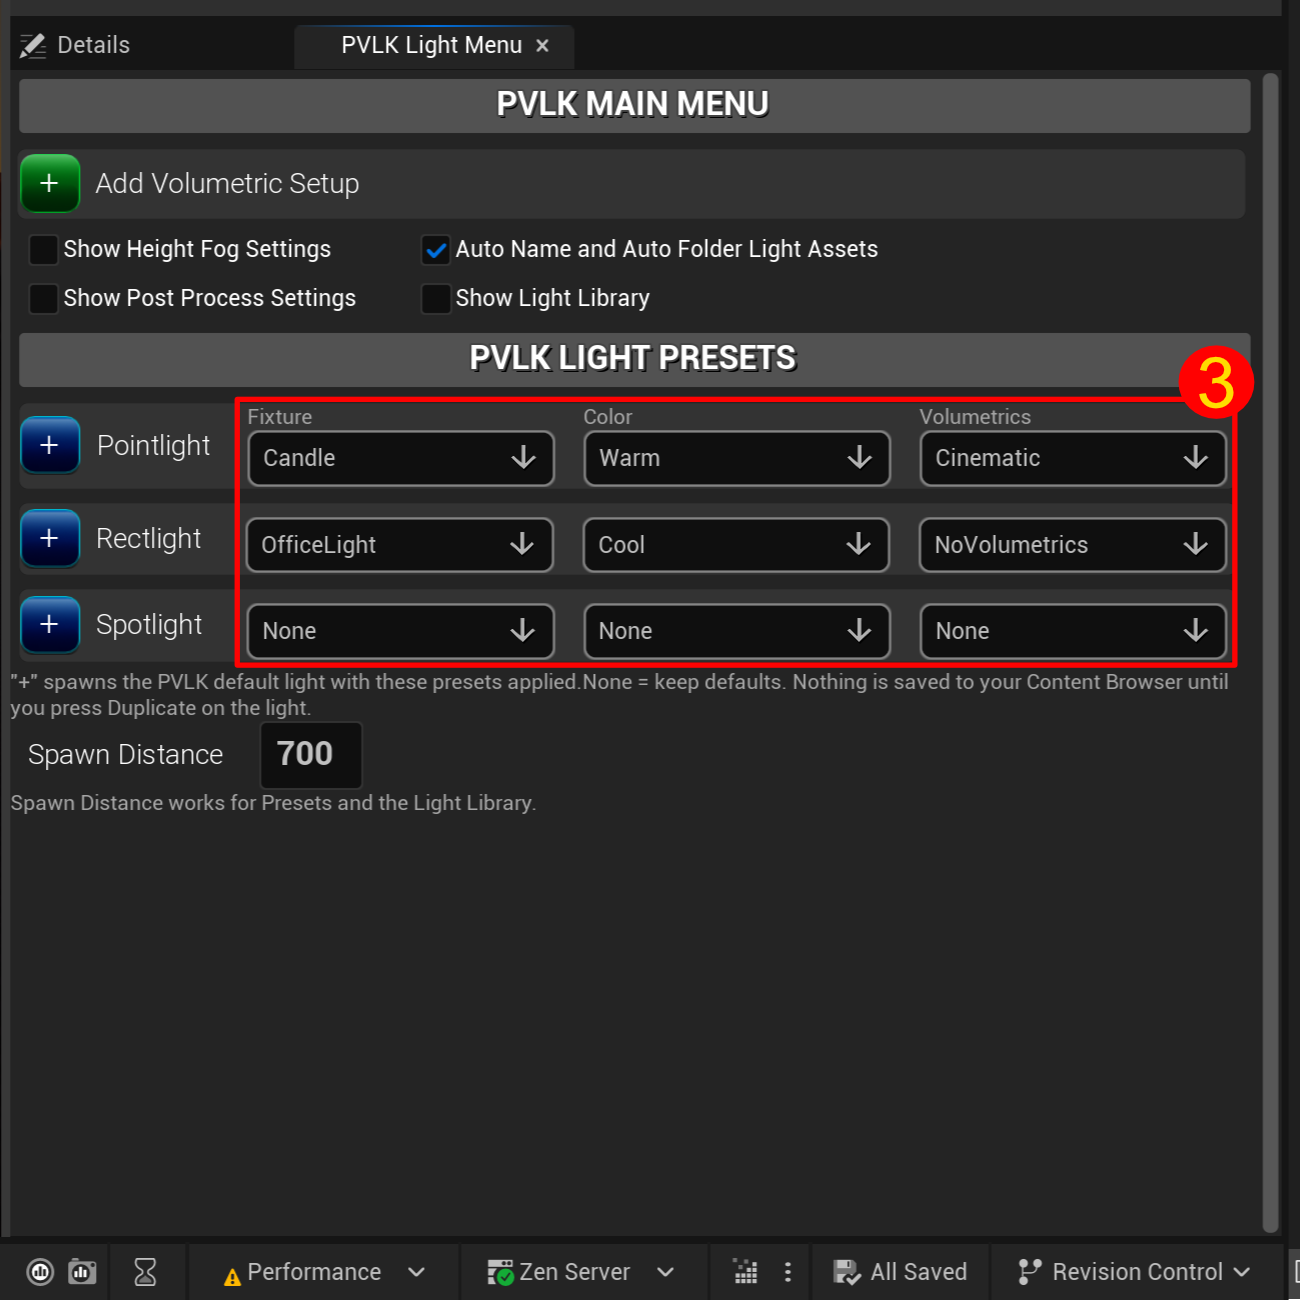
3. Select your desired preset for your light type.
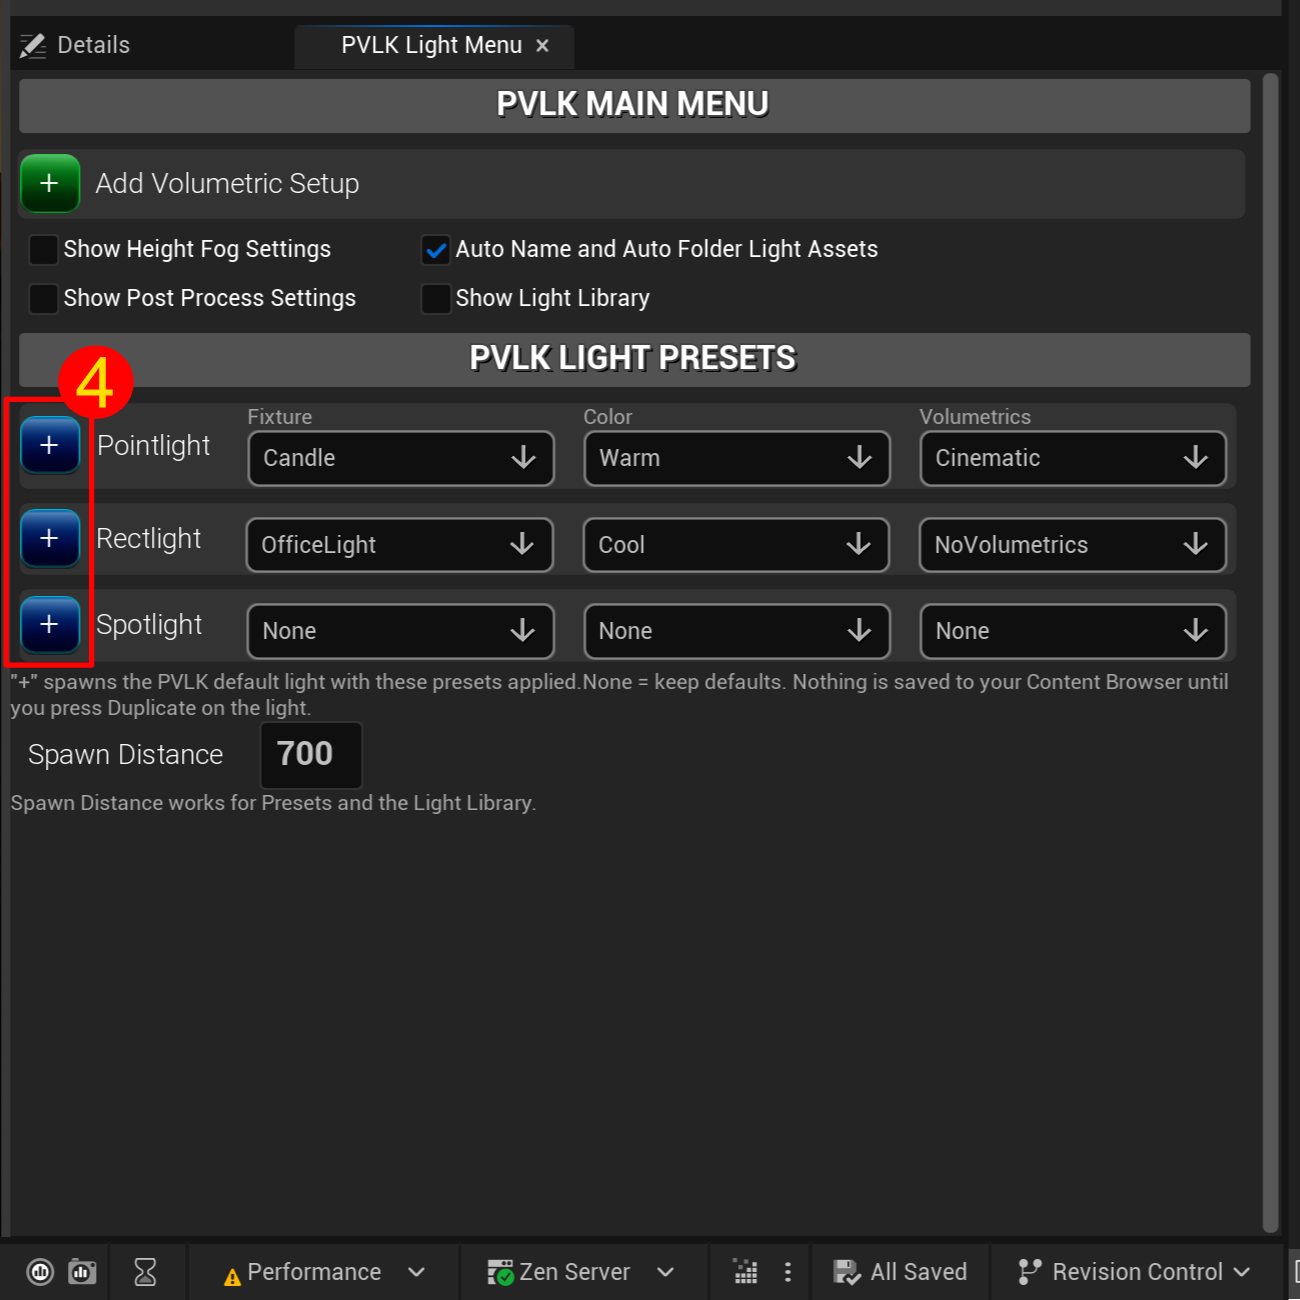
4. Click the "+" button to add your light to the level.
3. Customize the light and save your settings
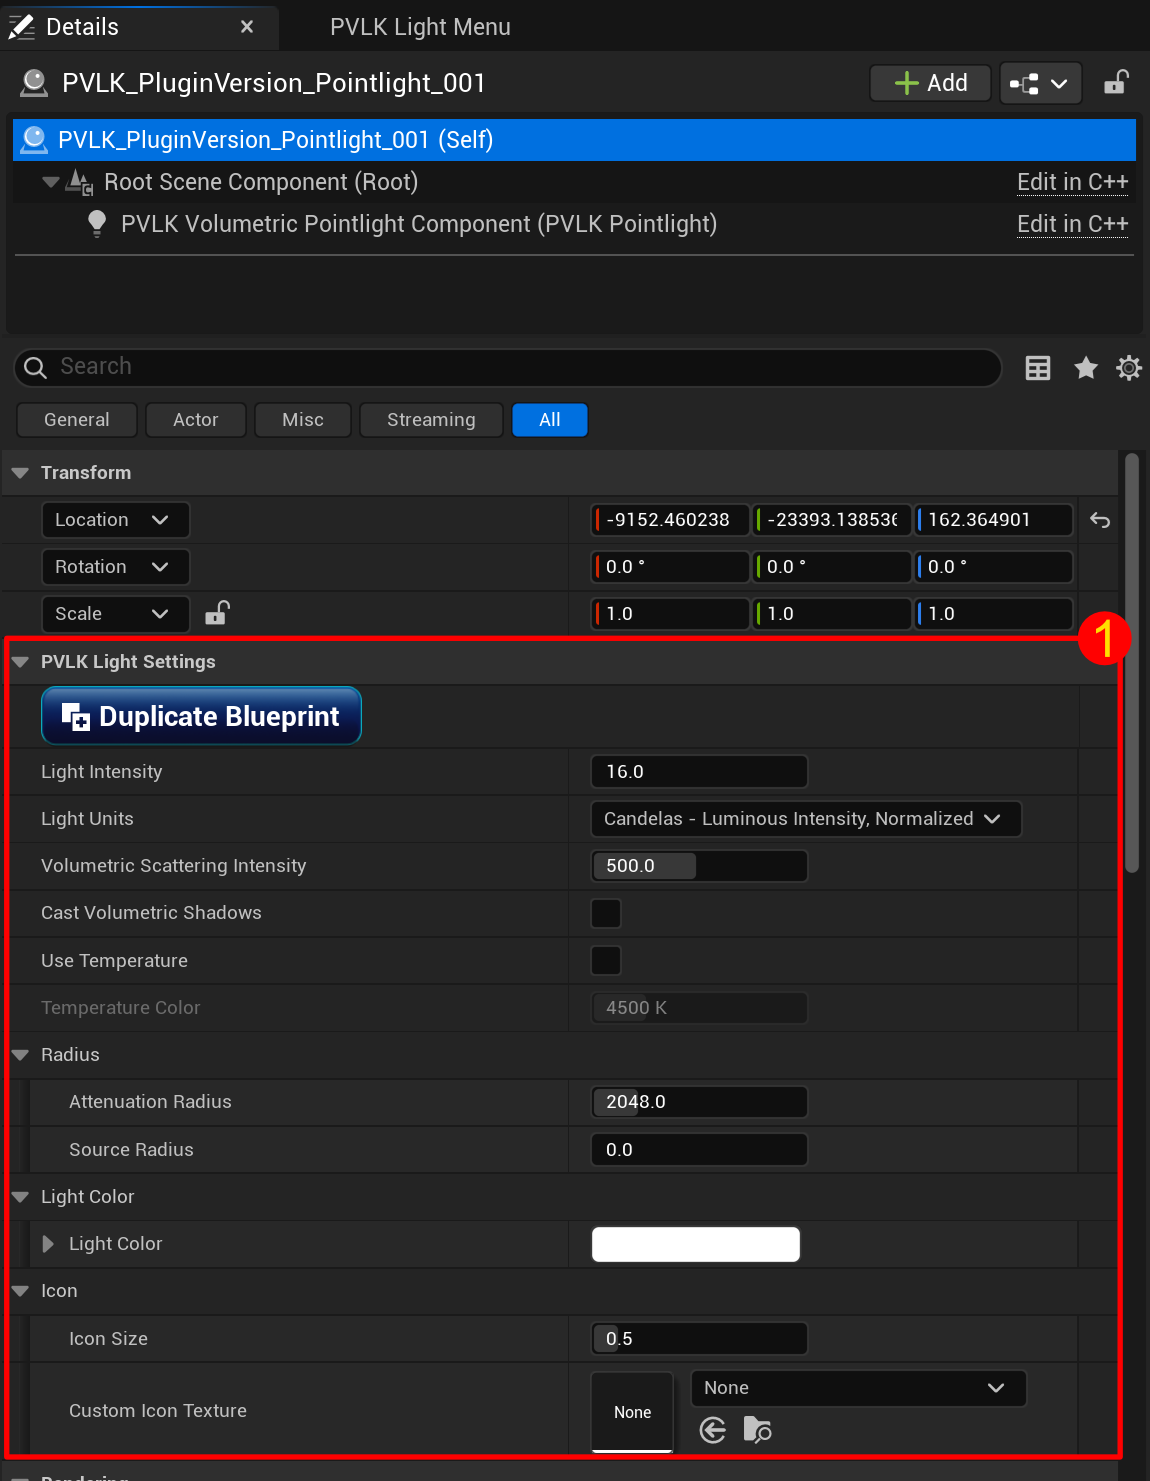
1. With the light selected, you will see the PVLK Light Settings category at the top of the
Details panel with the controls that matter: intensity, color, temperature, attenuation,
volumetric scattering, and more. Change the settings until it looks right. Everything updates live.
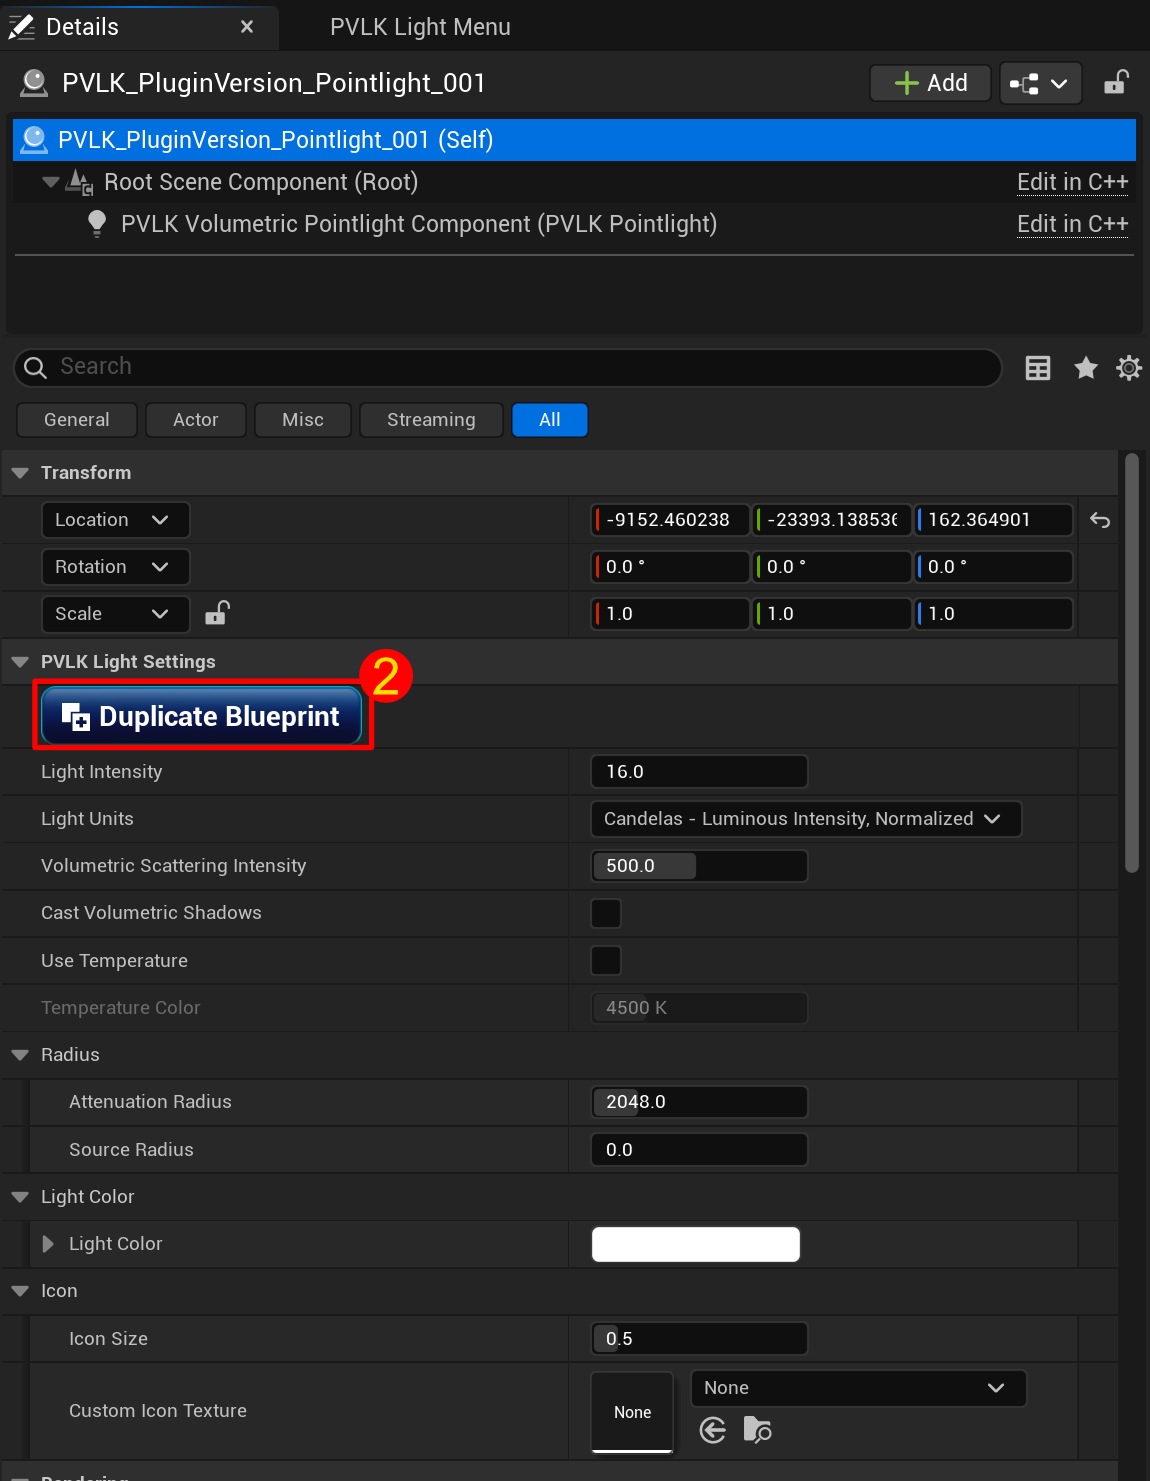
2. If you like your settings and want to save them, press Duplicate Blueprint at the top of the
light's Details panel. Your tuned light becomes a reusable blueprint in the Content Browser, named after its preset combination,
saved to your PVLK folder. It will then appear in the panel's
Light Library dropdown, ready to be added to the level.