Light Components and Blueprint Creation
The Customizable Components for Each Light Type, and How to Create Blueprints from PVLK Classes
PVLK Light Actor's Component
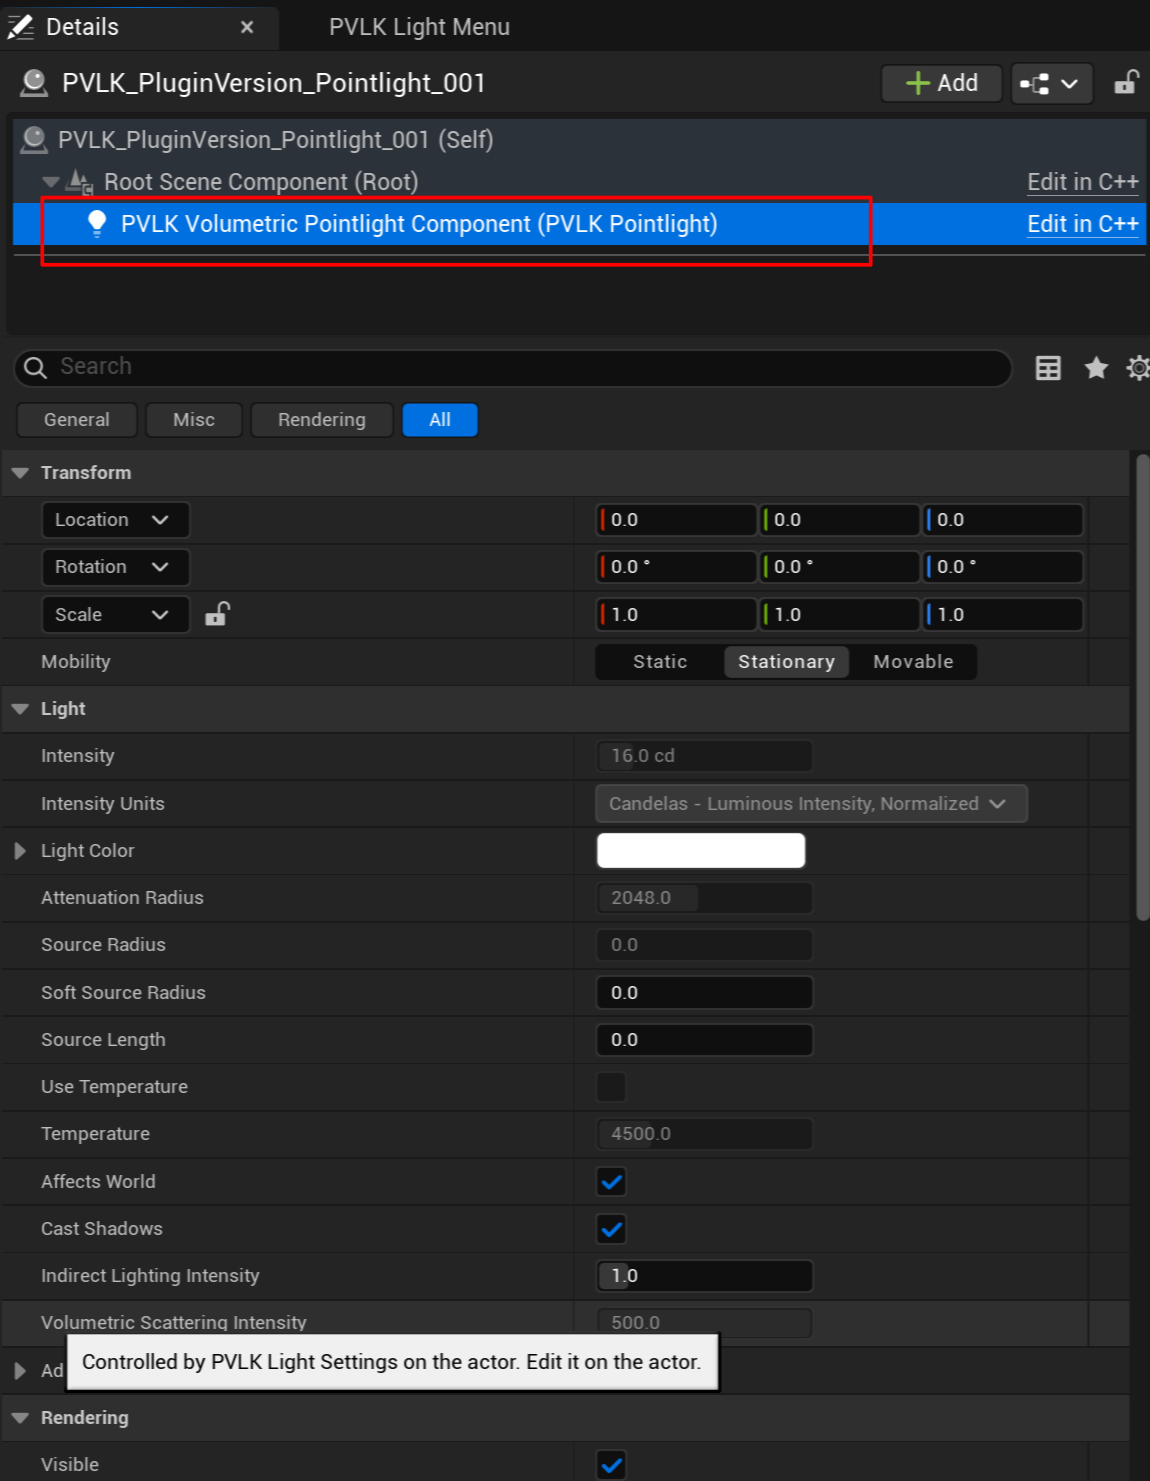
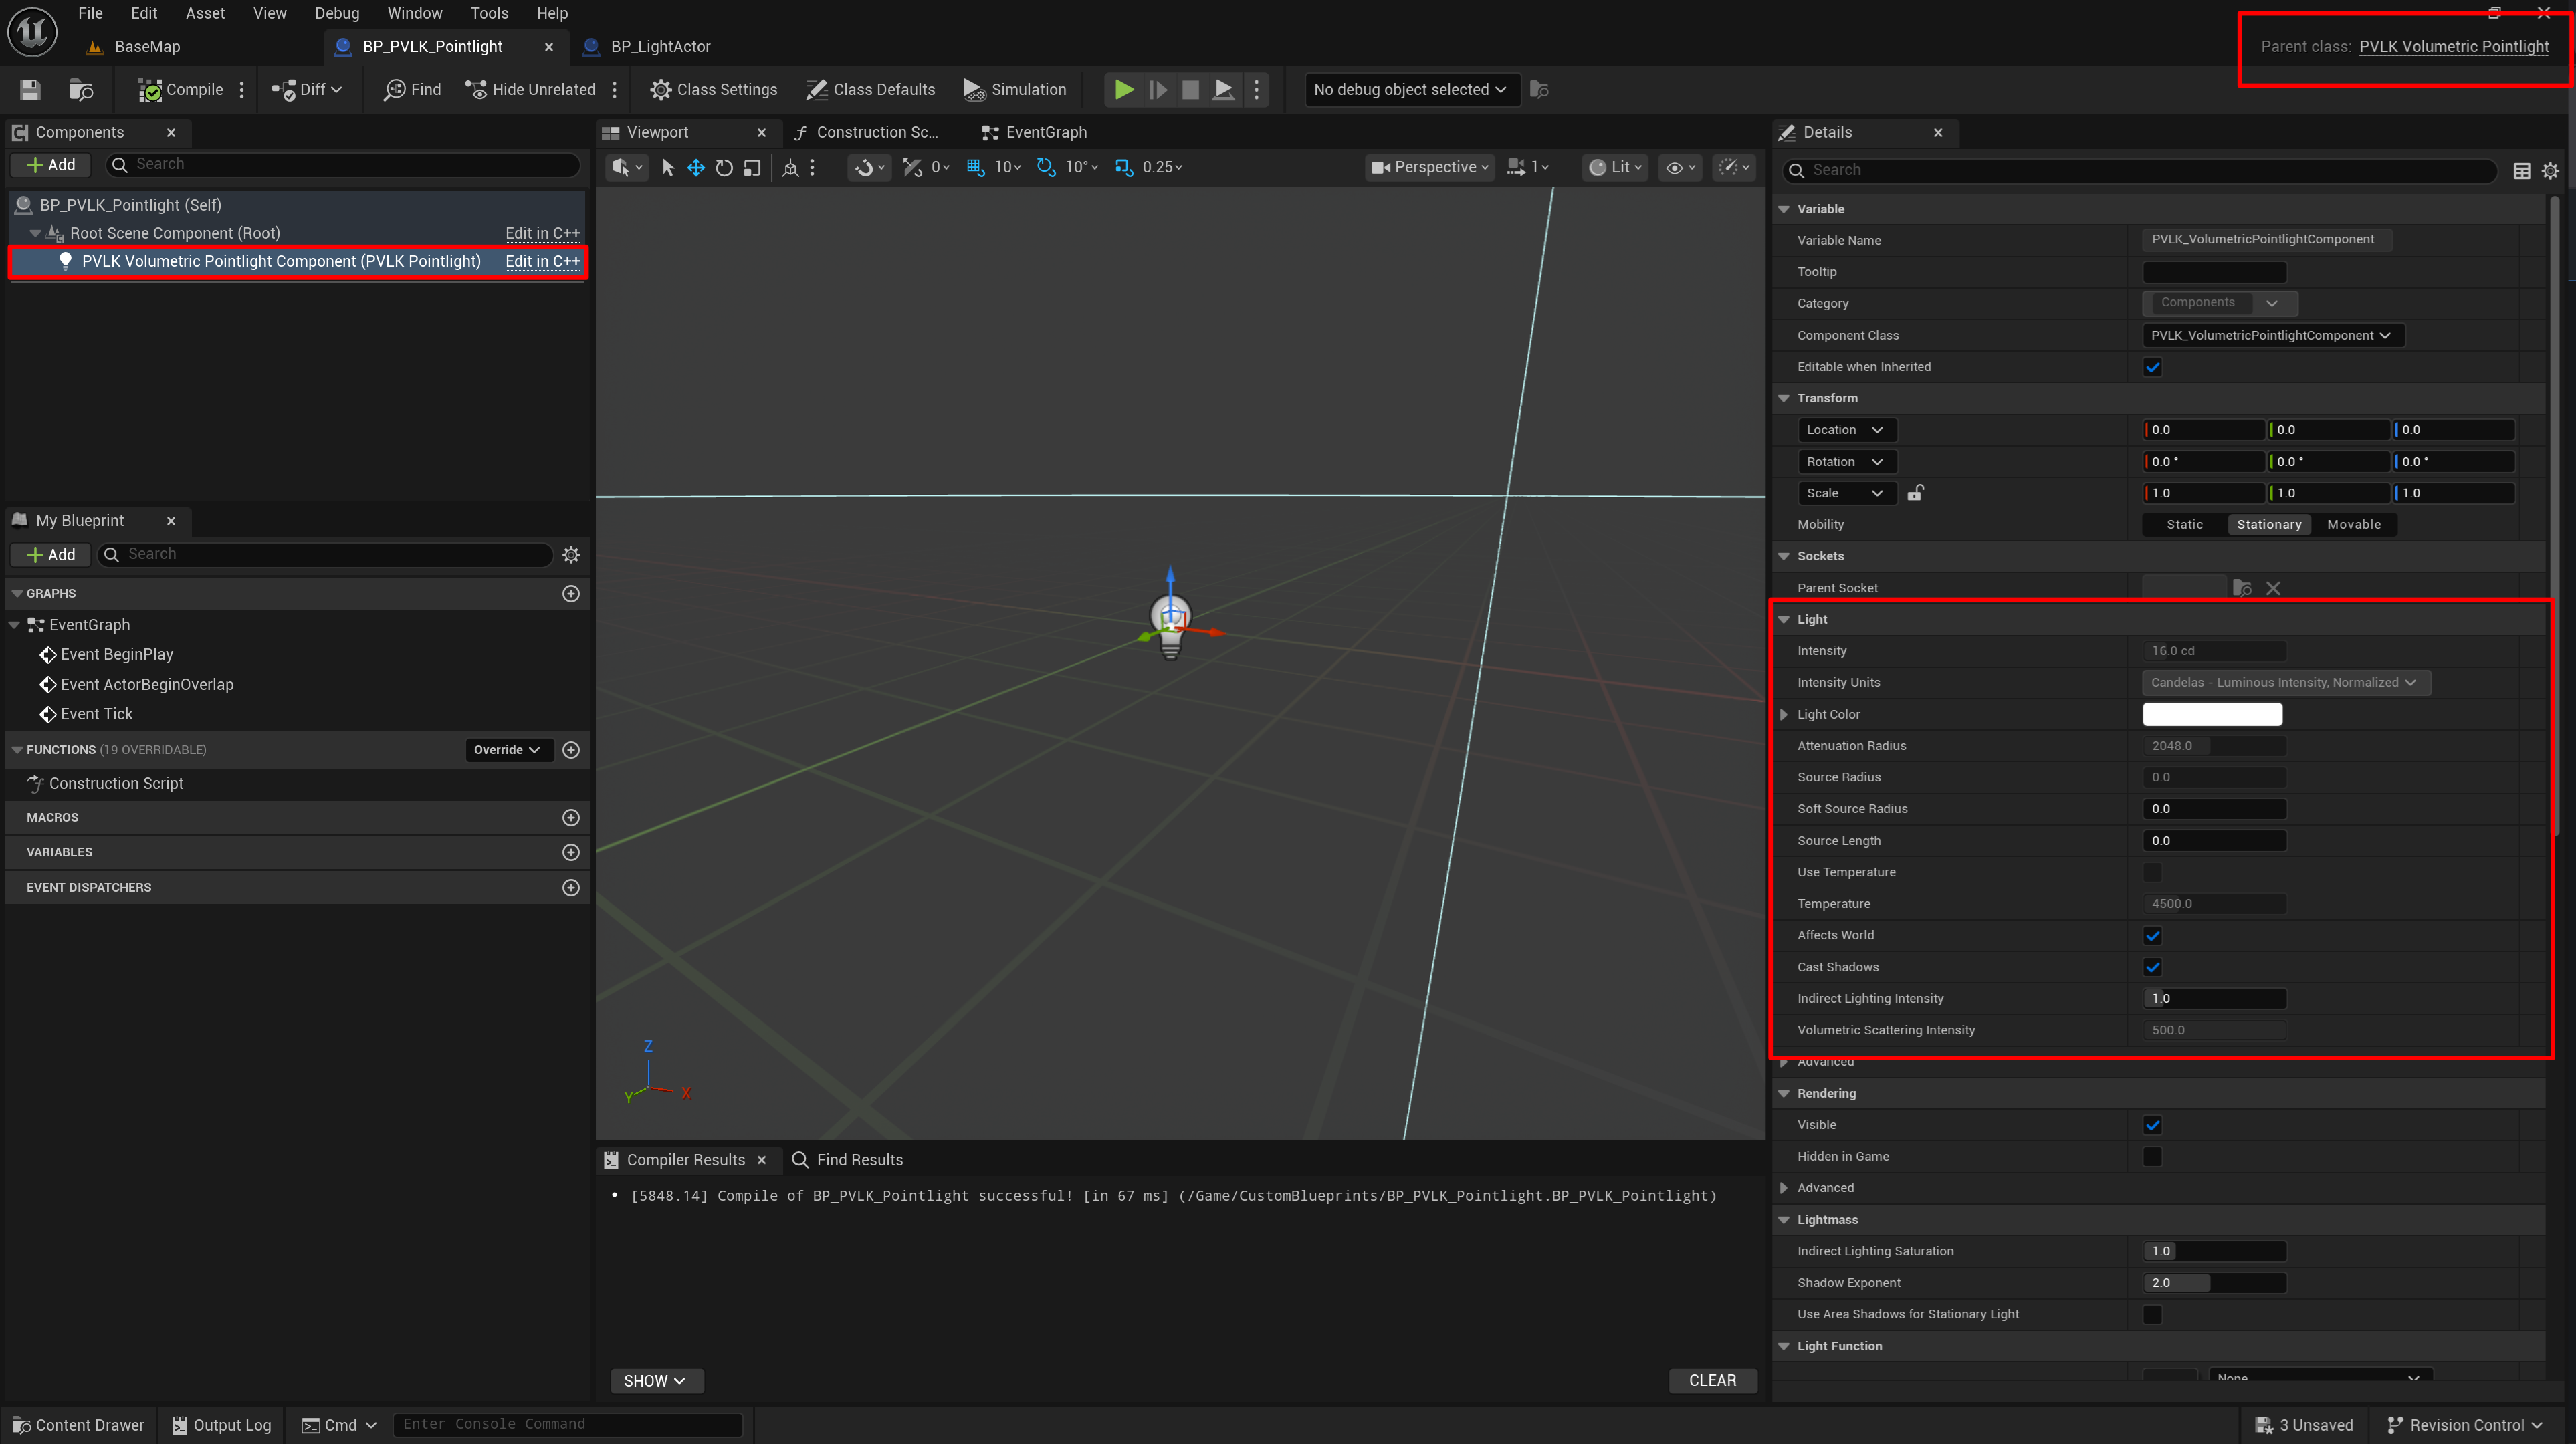
On a PVLK actor blueprint, just like it's described in PVLK Light Actor's Components, the grayed out settings on the component, are the same ones that the PVLK light actor manipulates. However, all of the other settings on the component are customizable and can be duplicated to the new blueprint as well. Asset applied properties, like Light Function Materials and IES Textures, also get carried over to the newly duplicated blueprint.
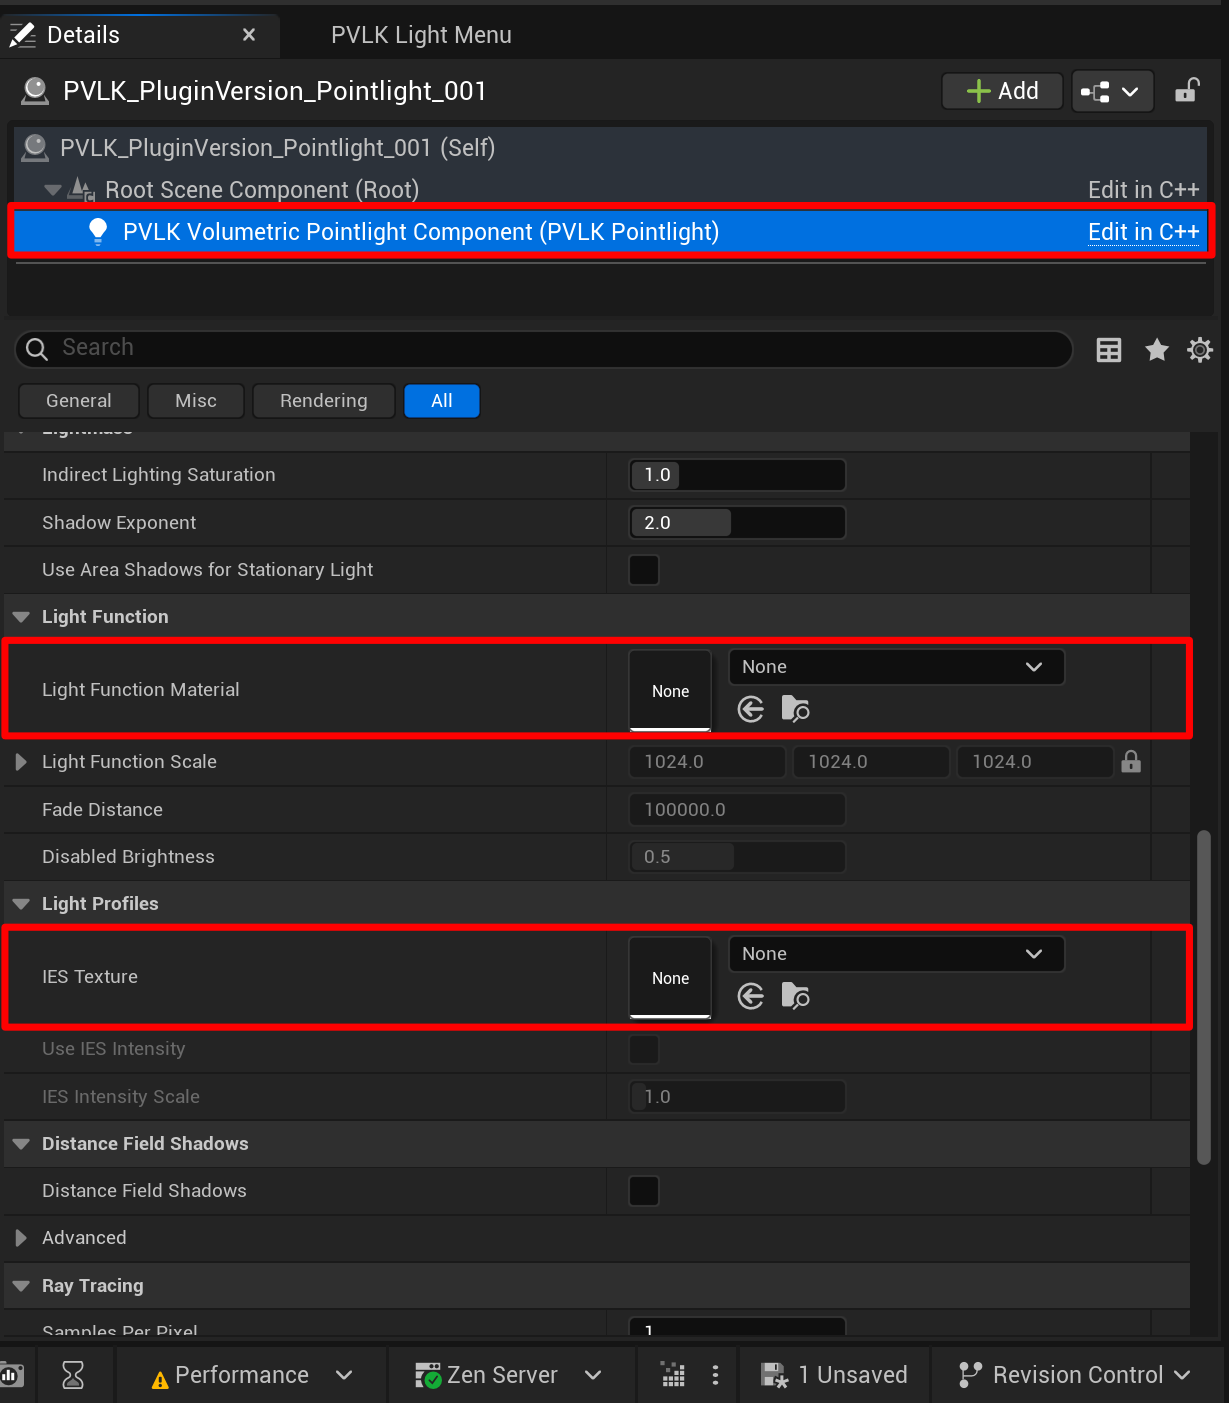

To access all of the IES Library's free IES Textures, visit there site here
Adding Custom PVLK Components to Regular Actors
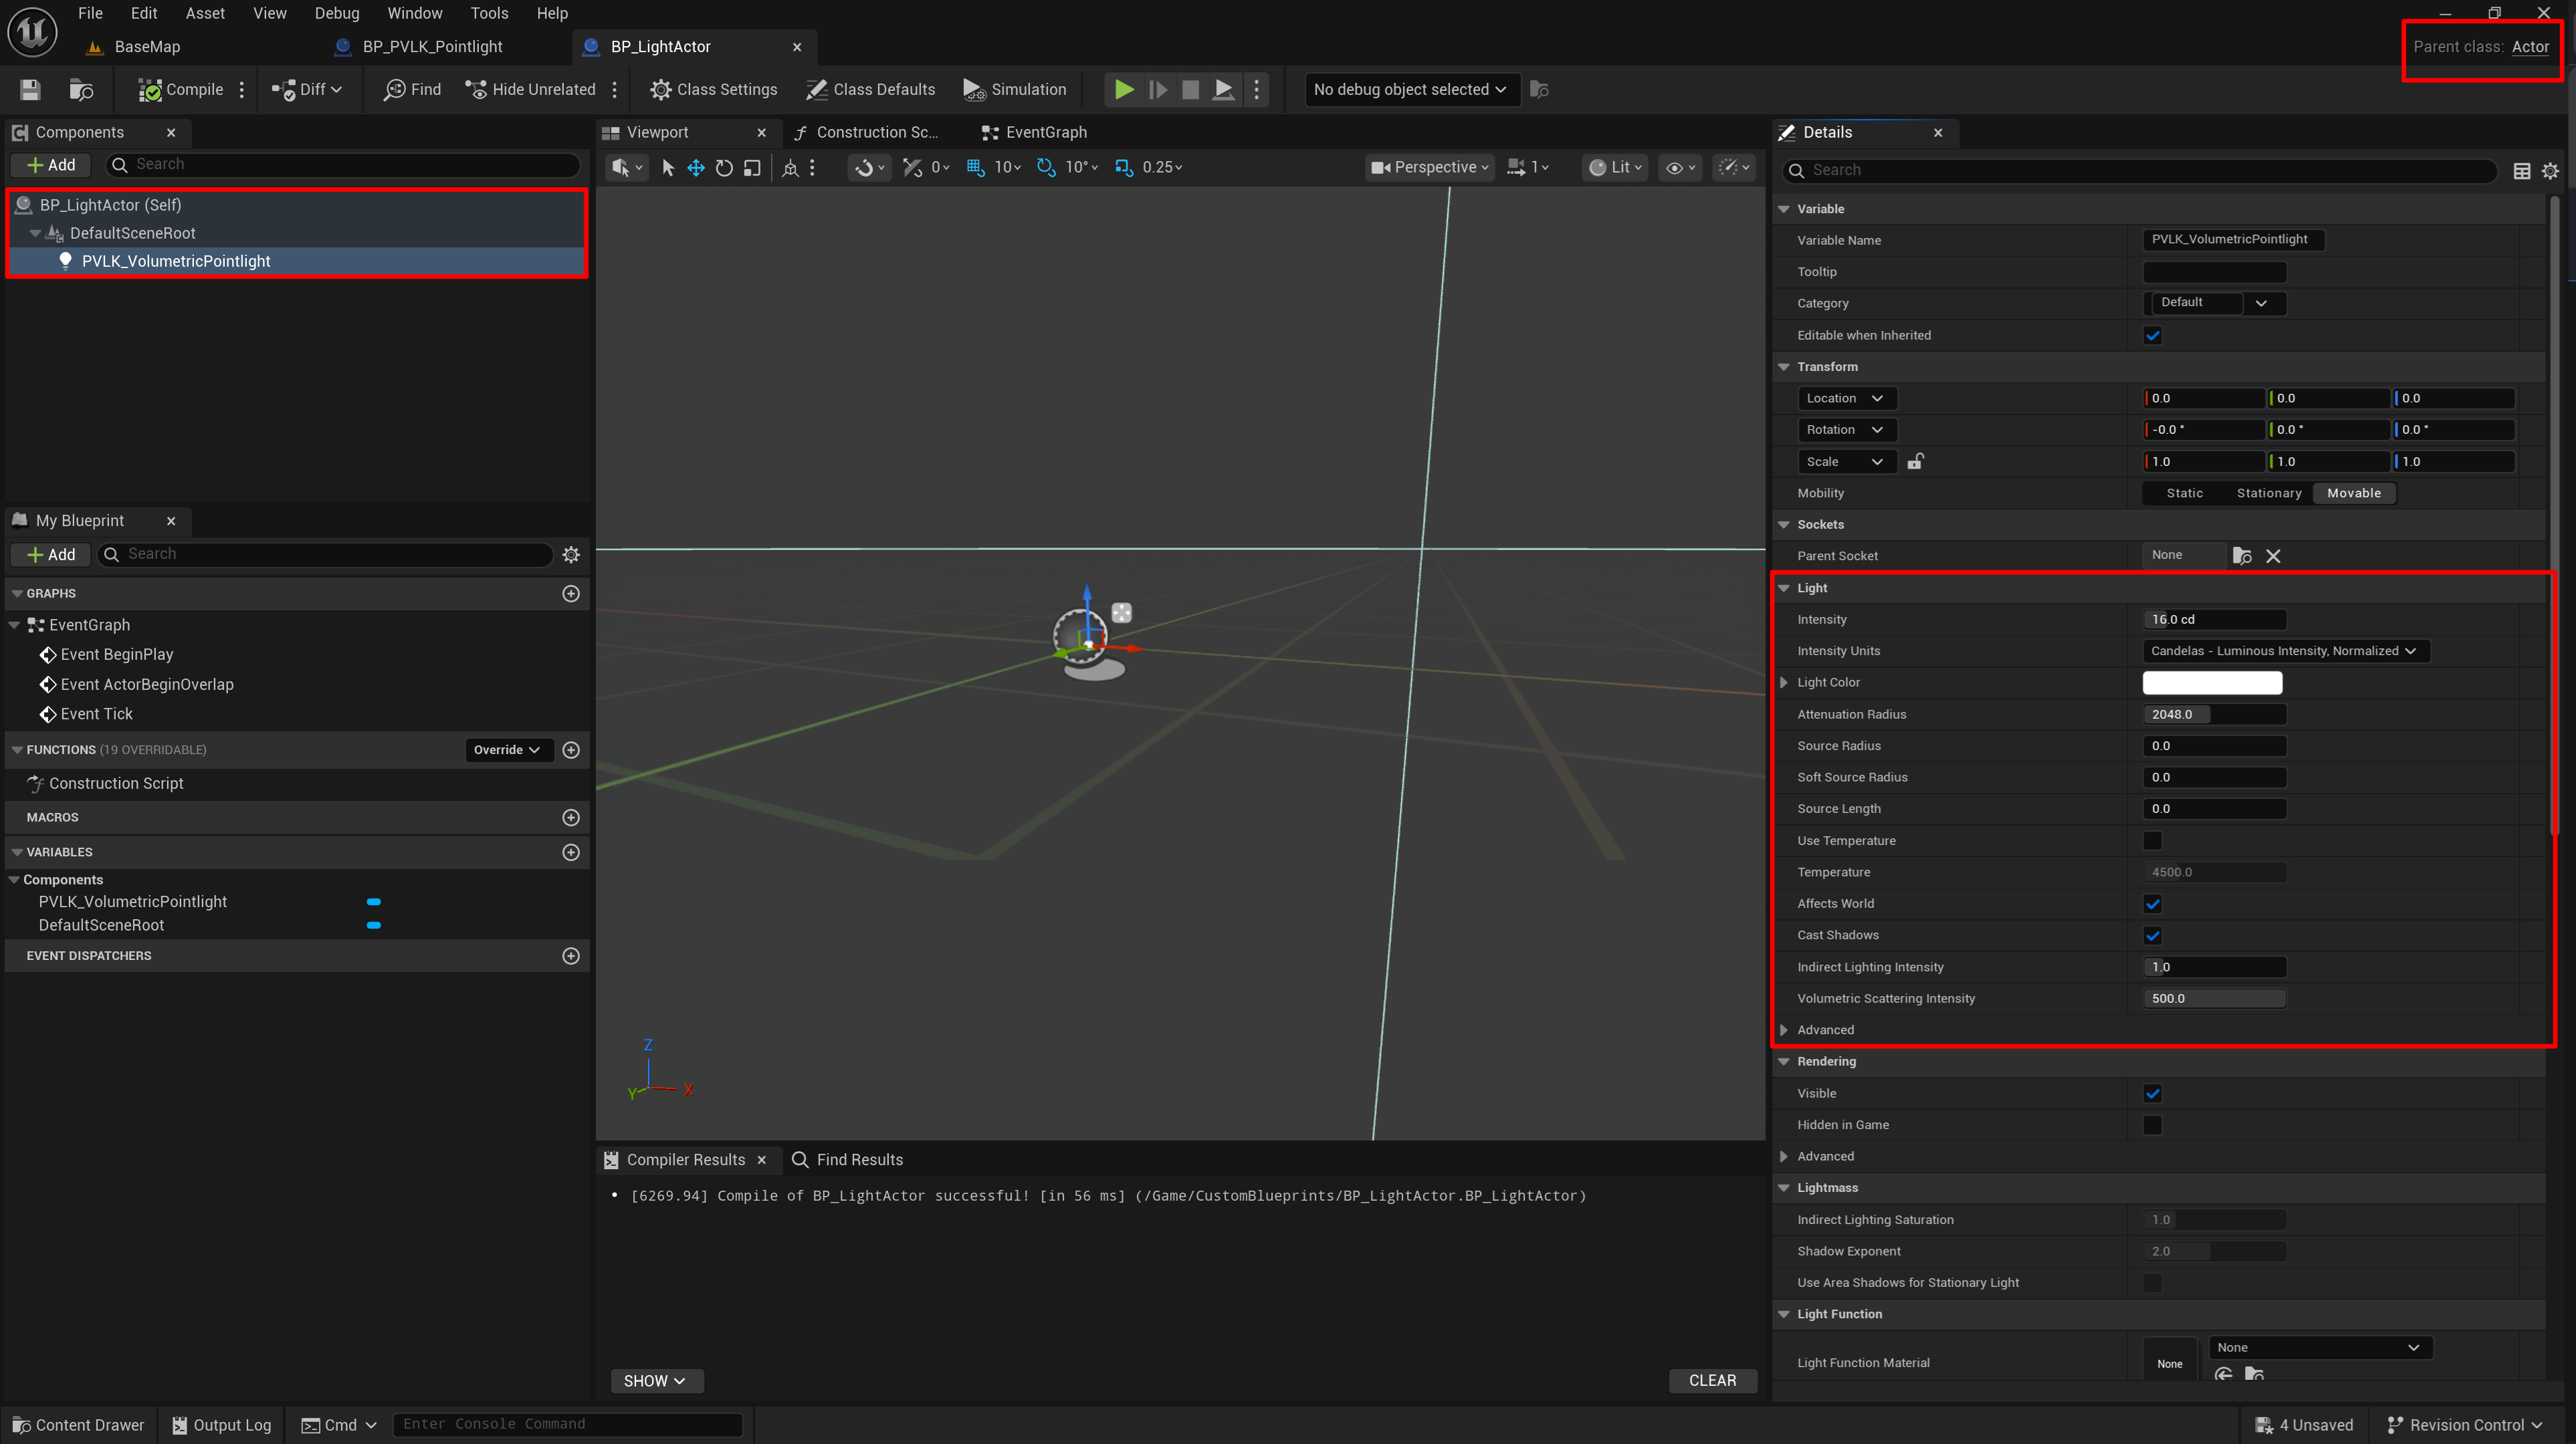
When creating a regular actor class manually, you can add a custom PVLK light component, although it's no different than a regular light component. Notice how the settings are not grayed out; this is due to not being attached to a PVLK Light Actor. The PVLK light component exists purely out of convenience.
Manually Creating a PVLK Actor Blueprint
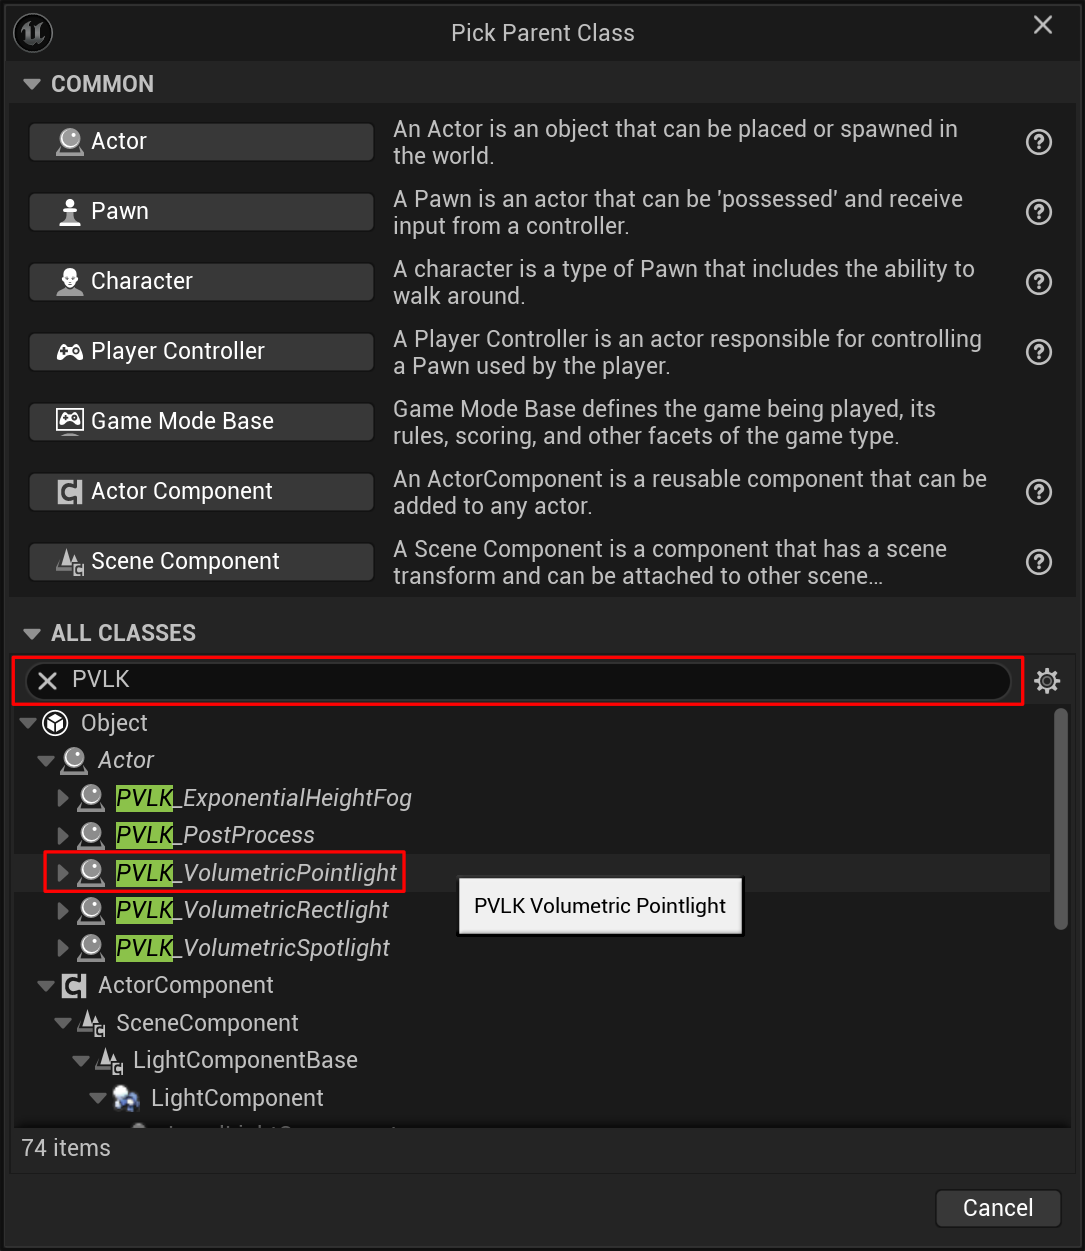
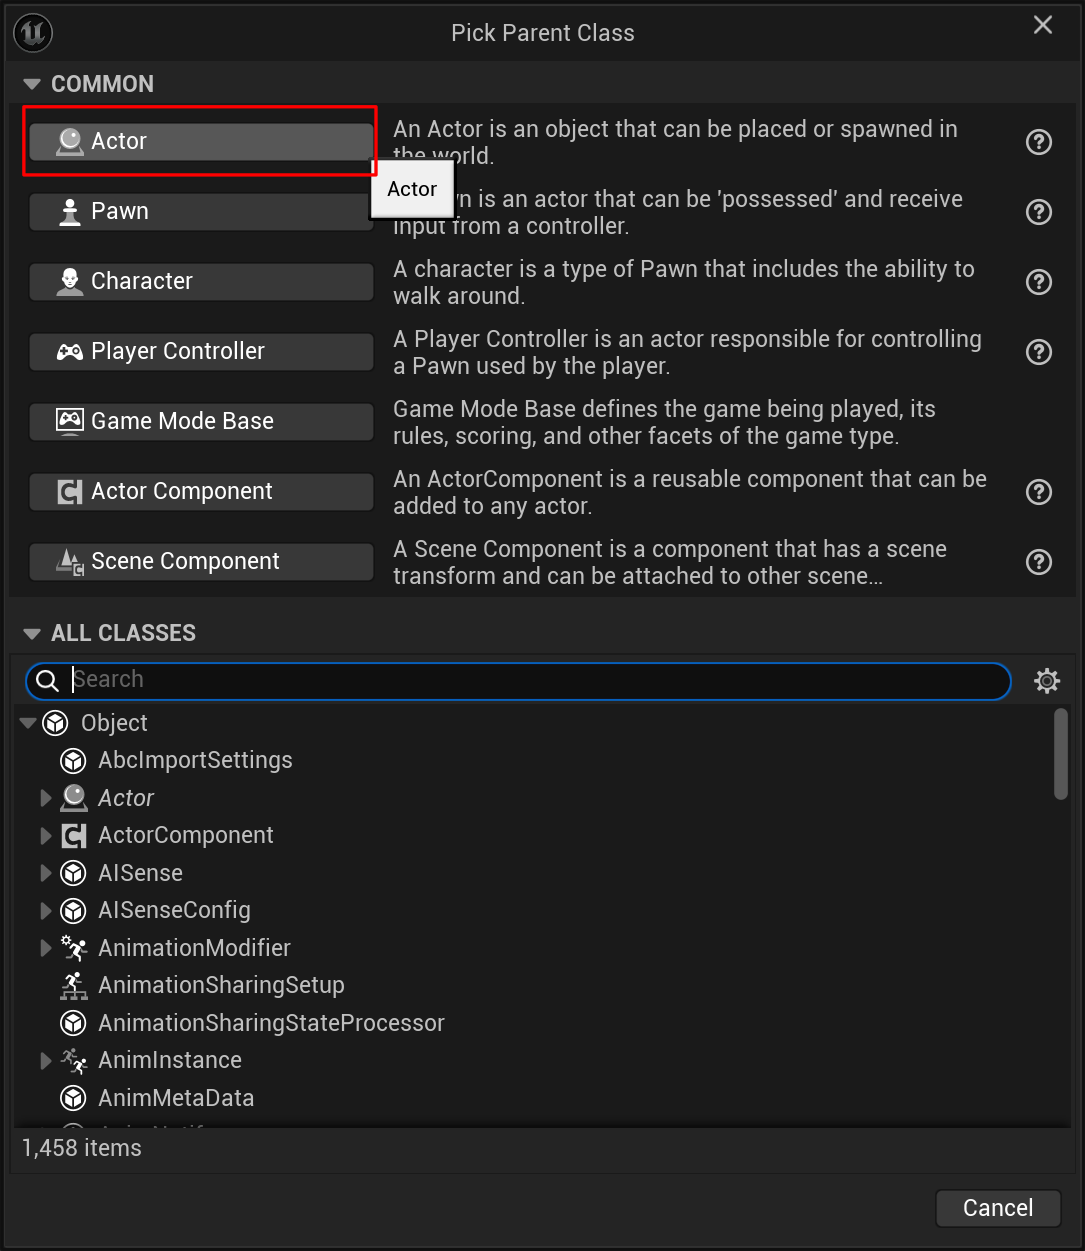
You can manually create a PVLK actor blueprint if needed. When the Pick a Parent Class window
pops up, you can pick the custom PVLK_VolumetricPointlight class (or Spotlight/Rectlight).
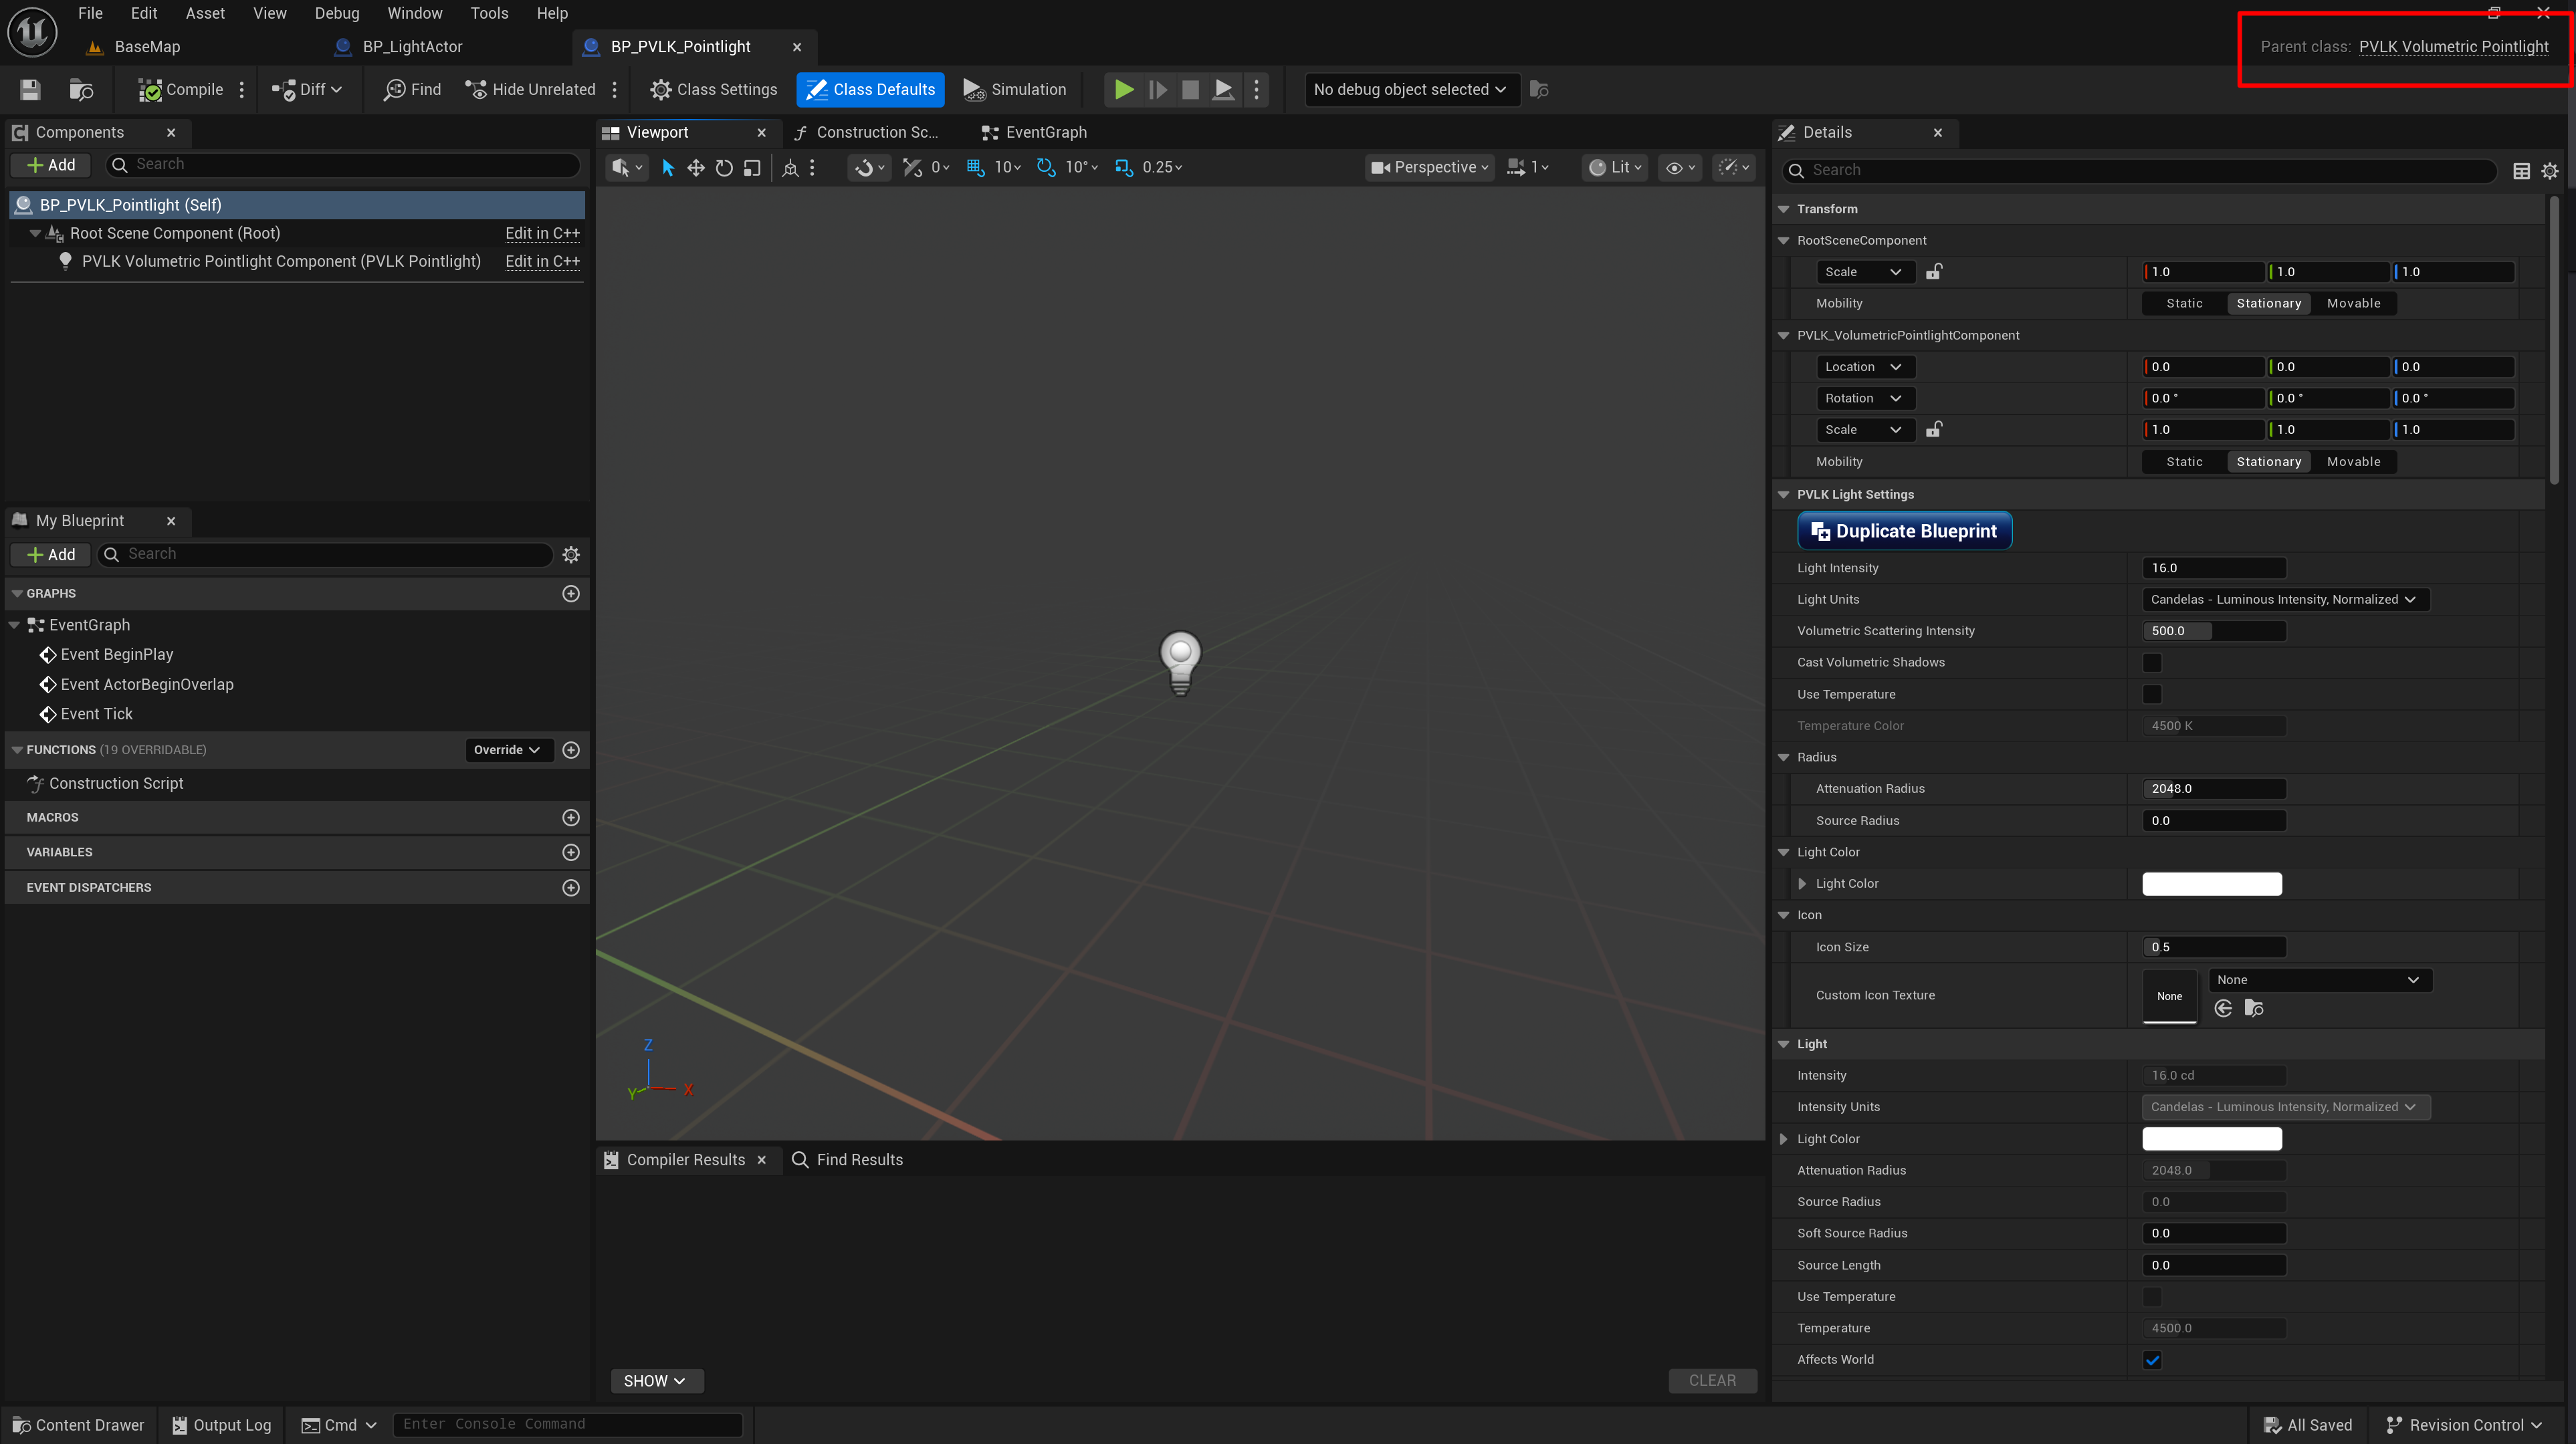
Creating a blueprint this way is the long (normal) way of doing it, but is also here purely for convenience. The PVLK way to
create a blueprint, is by changing the settings on a light to your liking, and hitting the
Duplicate Blueprint button.
Creating
classes from these parent classes also populate the Light Library,
as this is where all PVLK blueprints derive from. It may also be necessary to create blueprints this way if the
PVLK_PluginVersion ever gets altered or erased from the plugin's content folder (although there
are safe guards in place to prevent this from happening), and you need a base version of the blueprint.